Thread pitch might seem like a small detail, but getting it wrong can cause serious issues, misaligned parts, poor fits, or even mechanical failure. If you're designing or sourcing precision-machined components, knowing how pitch works is essential for ensuring proper fit and function. This guide is here to walk you through everything you need to know.
You’ll learn what thread pitch is, how different thread types compare, and how to read and use a thread pitch chart effectively. We’ll also show you how to measure thread pitch, avoid common specification mistakes, and select the best pitch for your application. Along the way, you’ll find practical tips, visual references, and links to expert resources for tolerancing and thread callouts.
Want to ask us specific questions about machining threads?
What is Thread Pitch?
Thread pitch is the distance a fastener travels forward when turned one full rotation. It’s measured along the screw’s axis and represents the space between adjacent thread peaks. This small detail plays a big role in how securely and accurately your components come together.
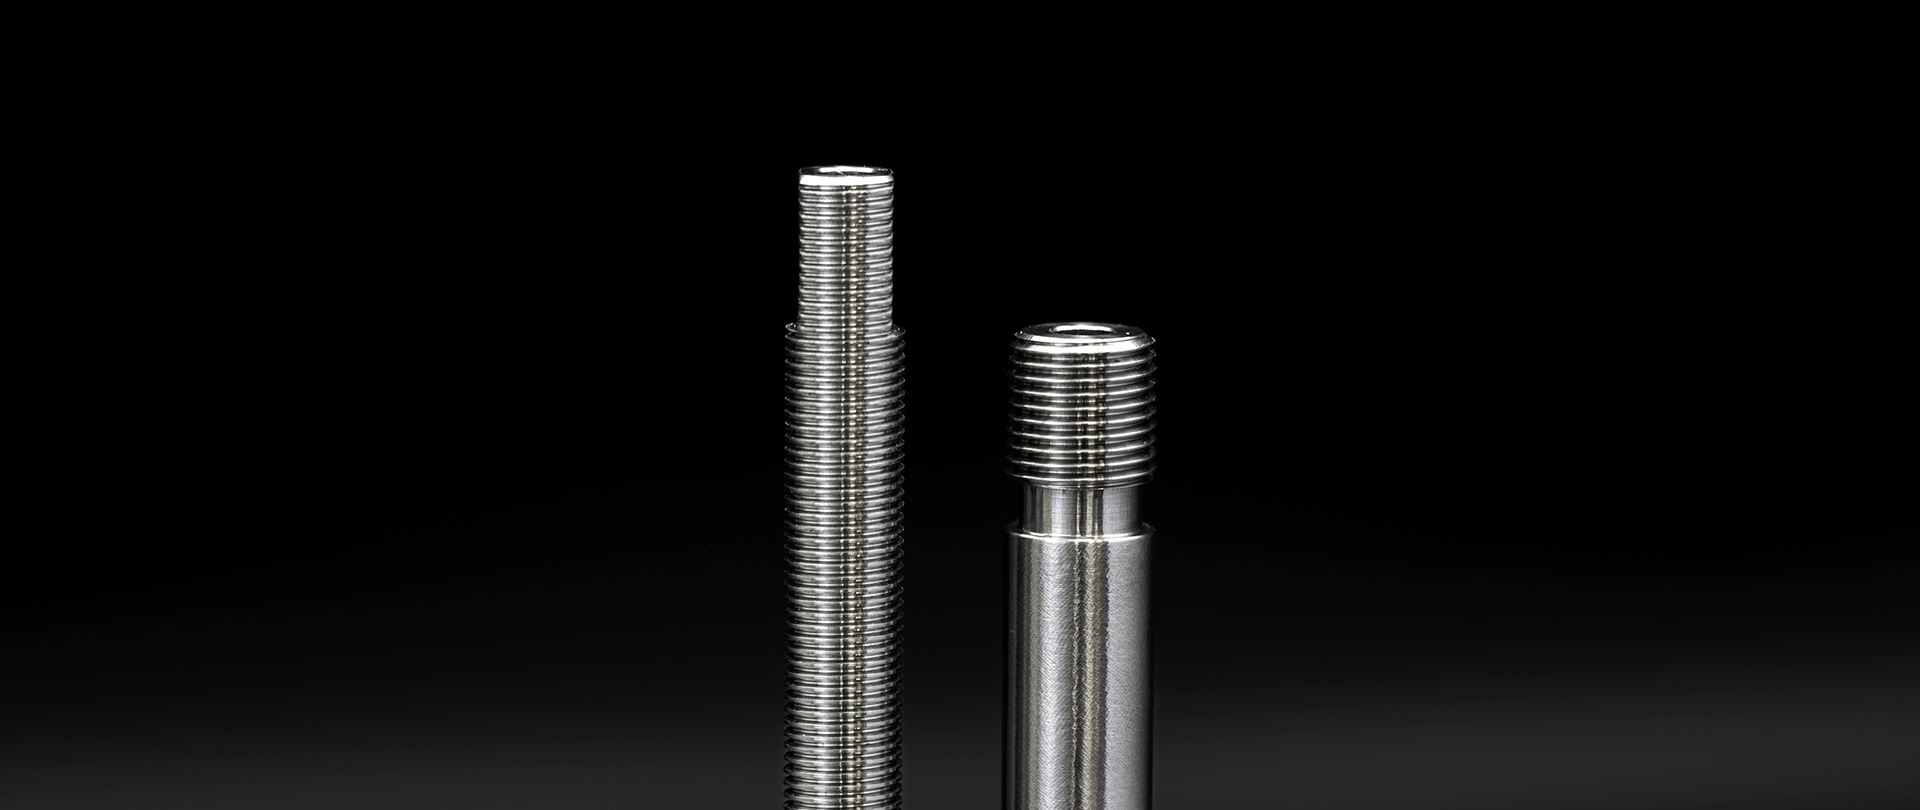
Picture turning a screw: every full turn moves it forward by the amount of its pitch. Fine threads move shorter distances per turn, offering greater precision and tighter control. Coarse threads move more quickly and are easier to assemble, making them ideal for speed and strength.
More complex thread forms, like trapezoidal or multi-start threads, follow the same basic rule. You may need to visualise or trace the same thread line to measure pitch accurately. Once you understand this movement, thread pitch becomes a powerful tool in your design process.
CNC Thread Pitch Charts
Thread pitch charts are one of the most useful tools you can have on hand when selecting threads or reviewing technical drawings. They pull together all the key data, diameter, pitch, drill size, and tolerances, into one quick reference. This makes it easier to make fast, accurate decisions during design and production, these charts typically include:
- Coarse and fine pitch values by diameter (e.g. M3–M30)
- Corresponding tapping drill sizes
- Fit tolerance recommendations
Keeping a standard thread pitch chart nearby during the design process can help prevent common spec errors. It’s one of the easiest ways to check pitch and thread compatibility before the part hits production. You can also cross-check values with CAD software or refer to formal standards for peace of mind.
I.S.O Metric Coarse Thread Chart
Note: all dimensions are in mm.'s
Thread Standards and Types
Standardised thread types make it easier to machine, assemble, and replace parts without extra customisation. Whether you're working with metric or imperial threads, understanding the differences in pitch and standard helps you avoid compatibility issues. Here’s a closer look at the most commonly used thread systems and how they compare.
Metric
Metric threads are based on millimetres, with pitch included in the size designation (e.g. M10 x 1.5). They’re part of the ISO system and widely adopted in industries like aerospace, medical, and consumer goods. Clear notation and easy measurement make them a favourite for design engineers.
Pros:
- Simple and consistent measurement system
- Universally recognised across industries
- Easier to interpret on technical drawings
Cons:
- Can be confused with imperial threads if not labelled clearly
- Limited availability in regions still using imperial standards
- Slight learning curve for teams used to inch-based measurements
ISO
ISO threads are internationally recognised and fall under standards like ISO 68-1 and ISO 261. They support both fine and coarse pitches for general-use fasteners in a wide range of applications. Their global standardisation makes sourcing and manufacturing more efficient.
Pros:
- Compatible across countries and suppliers
- Reduces miscommunication in documentation
- Supports coarse and fine pitch configurations
Cons:
- May overlap with legacy or local thread systems
- Requires care when aligning with older part drawings
- Fine thread options not always suitable for rugged conditions
Fine
Fine threads use a smaller pitch, which provides greater control and better resistance to vibration. These are often used where parts need precise adjustment or where the material is thin. Common applications include instrumentation, aerospace fittings, and medical devices.
Pros:
- High resistance to loosening from vibration
- Precise axial control and better thread engagement
- Good for thin materials or limited space
Cons:
- Easier to cross-thread or damage
- Slower assembly times
- Requires higher machining precision
Coarse
Coarse threads have a larger pitch and allow faster installation with fewer rotations. They're commonly used in general-purpose applications where strength and speed matter more than precision. Construction, machinery repair, and heavy-duty fixtures often rely on coarse threads.
Pros:
- Faster installation with fewer turns
- More tolerant of dirt and debris
- Lower risk of thread stripping in soft materials
Cons:
- Prone to loosening under vibration
- Less fine control or adjustability
- Needs more axial space for full engagement
Measuring Thread Pitch and Avoiding Specification Errors
Getting the pitch right is essential if you want your threads to fit and function properly. Use a pitch gauge to measure the distance between thread peaks, or for imperial threads, divide 25.4 by the TPI to convert to metric. This simple step helps avoid mismatches and supports smoother assembly later on. Common pitfalls include:
- Confusing pitch and TPI (they're not the same)
- Ignoring multi-start threads, which behave differently
- Using damaged gauges or incorrect reference tables
Multi-start threads feature more than one thread winding along the shaft, allowing for faster linear travel. You’ll often find them in high-speed applications like power tools or motion systems. To measure correctly, follow the same thread path around, not just the nearest peaks.
When in doubt, always check with reliable resources like our Geometric Dimensioning and Tolerancing Guide. Taking a moment to verify the spec can prevent costly rework or miscommunication. A quick check now can save a lot of frustration later.
How to Dimension and Tolerance Threads in Technical Drawings
A well-written thread callout tells your machinist everything they need to know clearly and without guesswork. It helps ensure your part is machined to spec and that the threads function as intended. Precision here saves time, money, and future troubleshooting.
How to Write a Complete Thread Callout
A complete callout should specify the thread size, pitch, and tolerance class. For example, “M10 x 1.5 – 6g” is a clear, standard designation. If you're unsure, our machining drawing services can help you get it exactly right.
Depth, Fit, and Repetition
Always indicate how deep the thread should go, full or partial. The fit depends on the tolerance class, and both mating parts need to match. Use a consistent format throughout your drawings to avoid confusion during production.
Symbols, Standards, and General Tolerancing
Thread symbols in your CAD files should follow ISO or ANSI standards. These are recognised across the industry and reduce misinterpretation. For more information, refer to our unilateral vs bilateral tolerance guide.
Choosing the Right Thread Pitch for Your Application
Thread pitch isn't a one-size-fits-all decision, it needs to suit your part's specific use. Materials, load conditions, and assembly methods all influence the ideal pitch. Choosing the wrong one can lead to poor performance or part failure.
Here’s what to consider:
- Fine pitch is better for thin materials, tight spaces, or precise adjustments
- Coarse pitch is best for quick assembly, soft materials, or dirty conditions
- Match pitch to the application’s vibration, speed, and tolerance needs
Fine threads are often chosen in aerospace and precision engineering for their strength and vibration resistance. Coarse threads, on the other hand, are common in field repairs and heavy-duty applications where speed matters. If you're not sure what’s best, our CNC turning services team is happy to help.


